
The Windows 11 Clock application has a timer app that allows you to set a timer. This article explains how to use it.
To put a timer on your Windows 11 PC, you can use an online timer or follow these steps:
1. Open the Clock app
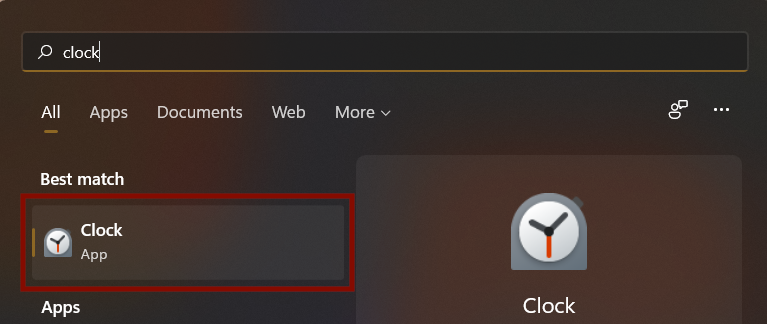
The first thing that you need to do is find the Clock application and then access the timer.
To do this, go to the Windows search feature (the magnifying glass) and type "clock". The Clock app will be displayed. Click on it to open it.
2. Switch to the Timer Tab
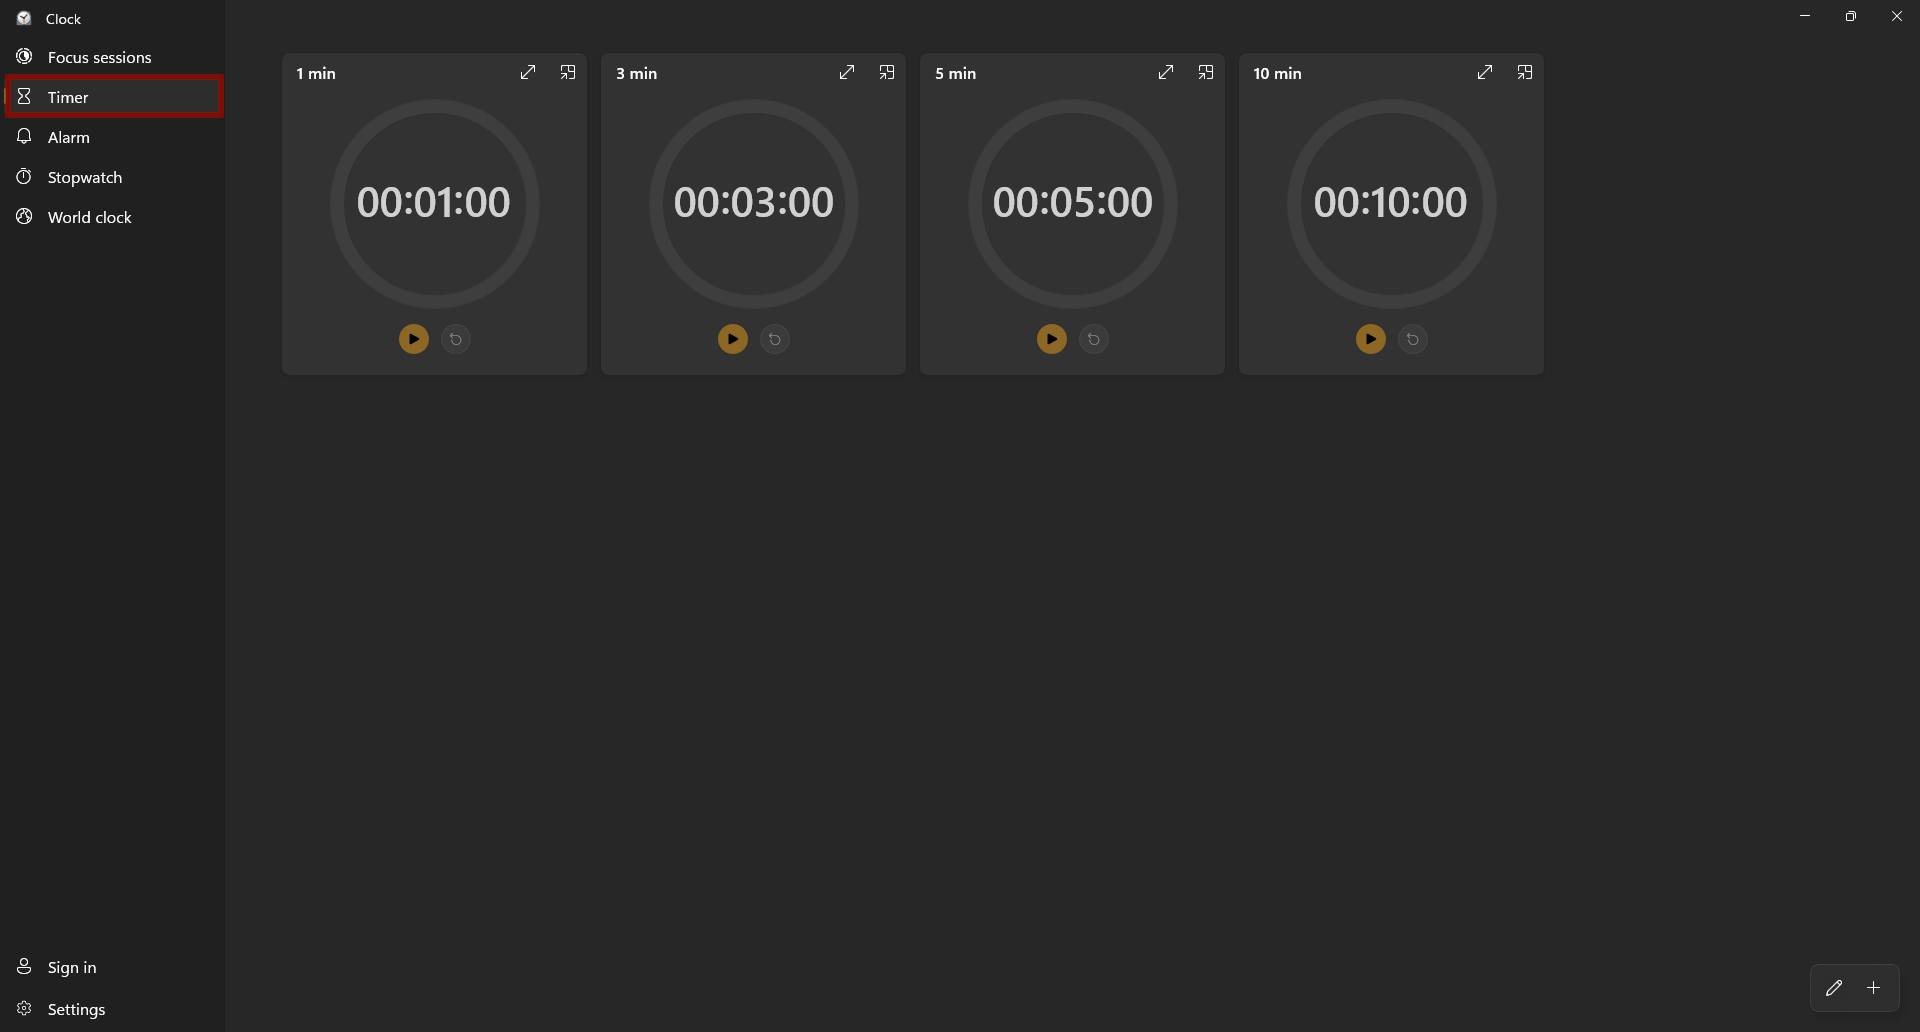
Simply switch to the timer tab from the left menu. It is the third one from the top.
3. Set a Timer
To add a new timer, click on the plus icon in the bottom right-hand corner.
Set the time
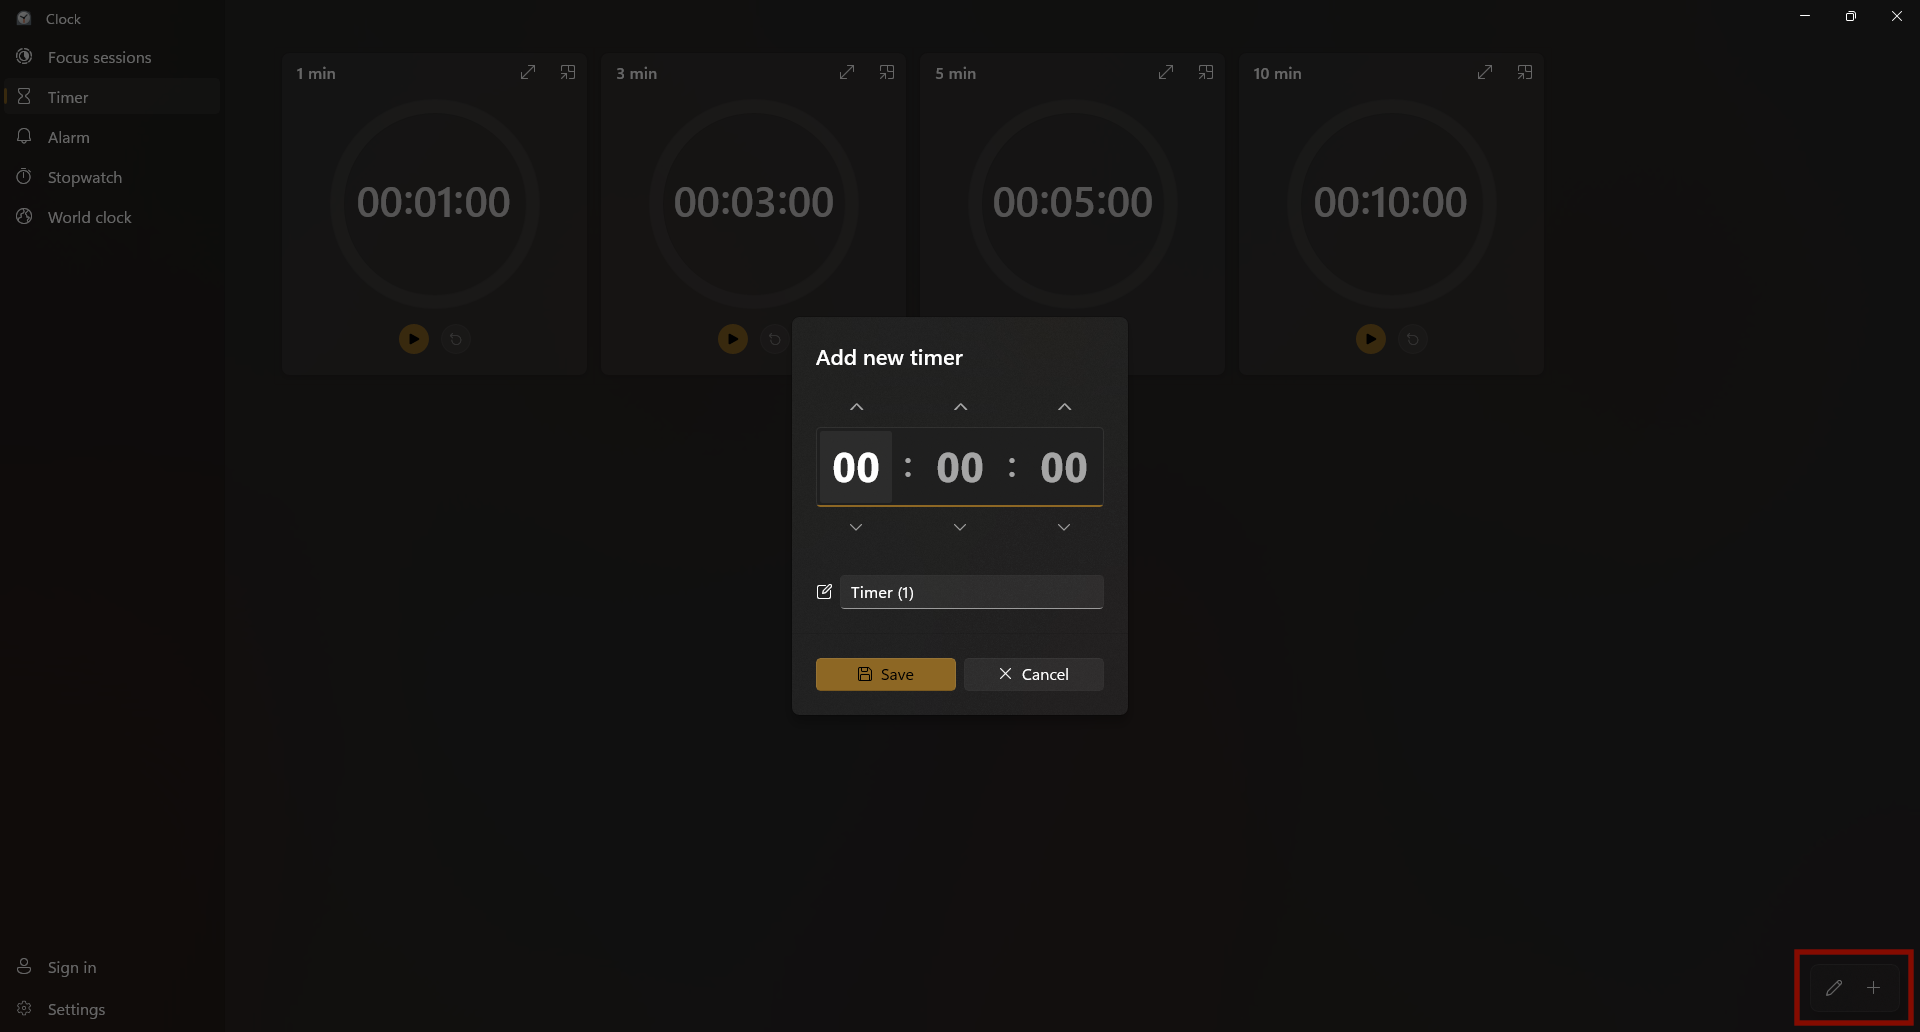
At the top of the timer box, the time is displayed with hours on the left, minutes in the middle, and seconds on the right. You can set the time by typing it in or scrolling up and down using the arrows.
Give the timer a name
If you want to give your timer a name, type it into the box beneath the time display.
Save the timer
Once you have set the time and name of your timer, click save.
4. Start the Timer
After you have saved your timer, you will be taken back to the main screen of the timer feature. The timer does not automatically start at this point.
In order to start the timer, you need to click on the start button (▷) beneath it. Click this button to start the timer.
If you would like to reset the timer at any point, click the reset button next to the start button.
If you click on the expand (⤢) icon, which uses a double-headed arrow symbol, you can expand the timer to fill the entire screen. To bring the app back to its normal size, click again on the expand icon.
Check your volume settings
When the timer has finished, an alarm will sound, and a notification will be displayed on the screen. It is a good idea to check your volume settings and to make sure that you will hear the alarm if you are likely to miss the on-screen notification.